I'm getting married. Like, this week. Hot damn!
While I've been busy crossing things off my list (and checking it twice like Santa) I haven't forgotten about you. Now that things have died done a bit, I'm going to write as many posts as possible before the big day. More Warbler, no waiting! Whether you like it or not. I hope you do like it though.
Let me start off by saying, if you're thinking of making Scrabble coasters, ask yourself a few questions first? Do I have a large guest list? Do I lose patience quickly with material things such as glue or cork board? Am I out of wine?!
If you answered test to any of those questions, you might want to reconsider this project.
We set out to make 100 coasters. The first day of the project, Mr. Warbs, MOH J5 and myself only made 23 coasters between the three of us. And it was exhausting. Sorting through the tiles to make four letter words, cutting the cork into 4x4 pieces and gluing the tiles to the cork board was a lot of work. It took us almost an entire month to complete the project. Granted we didn't work on it every day. Between work, other wedding activities and living our lives, we found it hard to set aside the hours necessary to really make a dent in the project.
In the end, we only made 94 coasters which ended up being plenty since we have approximately 45 guests. Mr. Warbs and I got to keep four for ourselves. Hooray!

Hold on to that feeeelin'
Here's what you'll need to get started:
-Scrabble tiles (the total should be based on how many coasters you plan on making and if you're building 4x4 or 5x5 coasters)
-Cork board
-Xacto knife
-Wood glue (we used Elmer's contractor's wood glue)
-Mod podge or some kind of clear water resistant sealant

The first thing we did was separate the tiles into groups of letters to make building words easier. Luckily, I had just made a scouting trip to Ikea and had tea light candle holders to utilize. This actually took up a lot of time.
The best way to start is to lay the words down on the cork board and trace the outline. It's easier if you have a defined area to work within with the glue. We each had a different method for gluing the tiles down.

MOH J5 glued each tile down one by one. Then he cut the cork board around the tiles.

Same as Mr. Warbs
I cut the cork into 4x4 tiles first, then applied the glue all over and placed the tiles down.
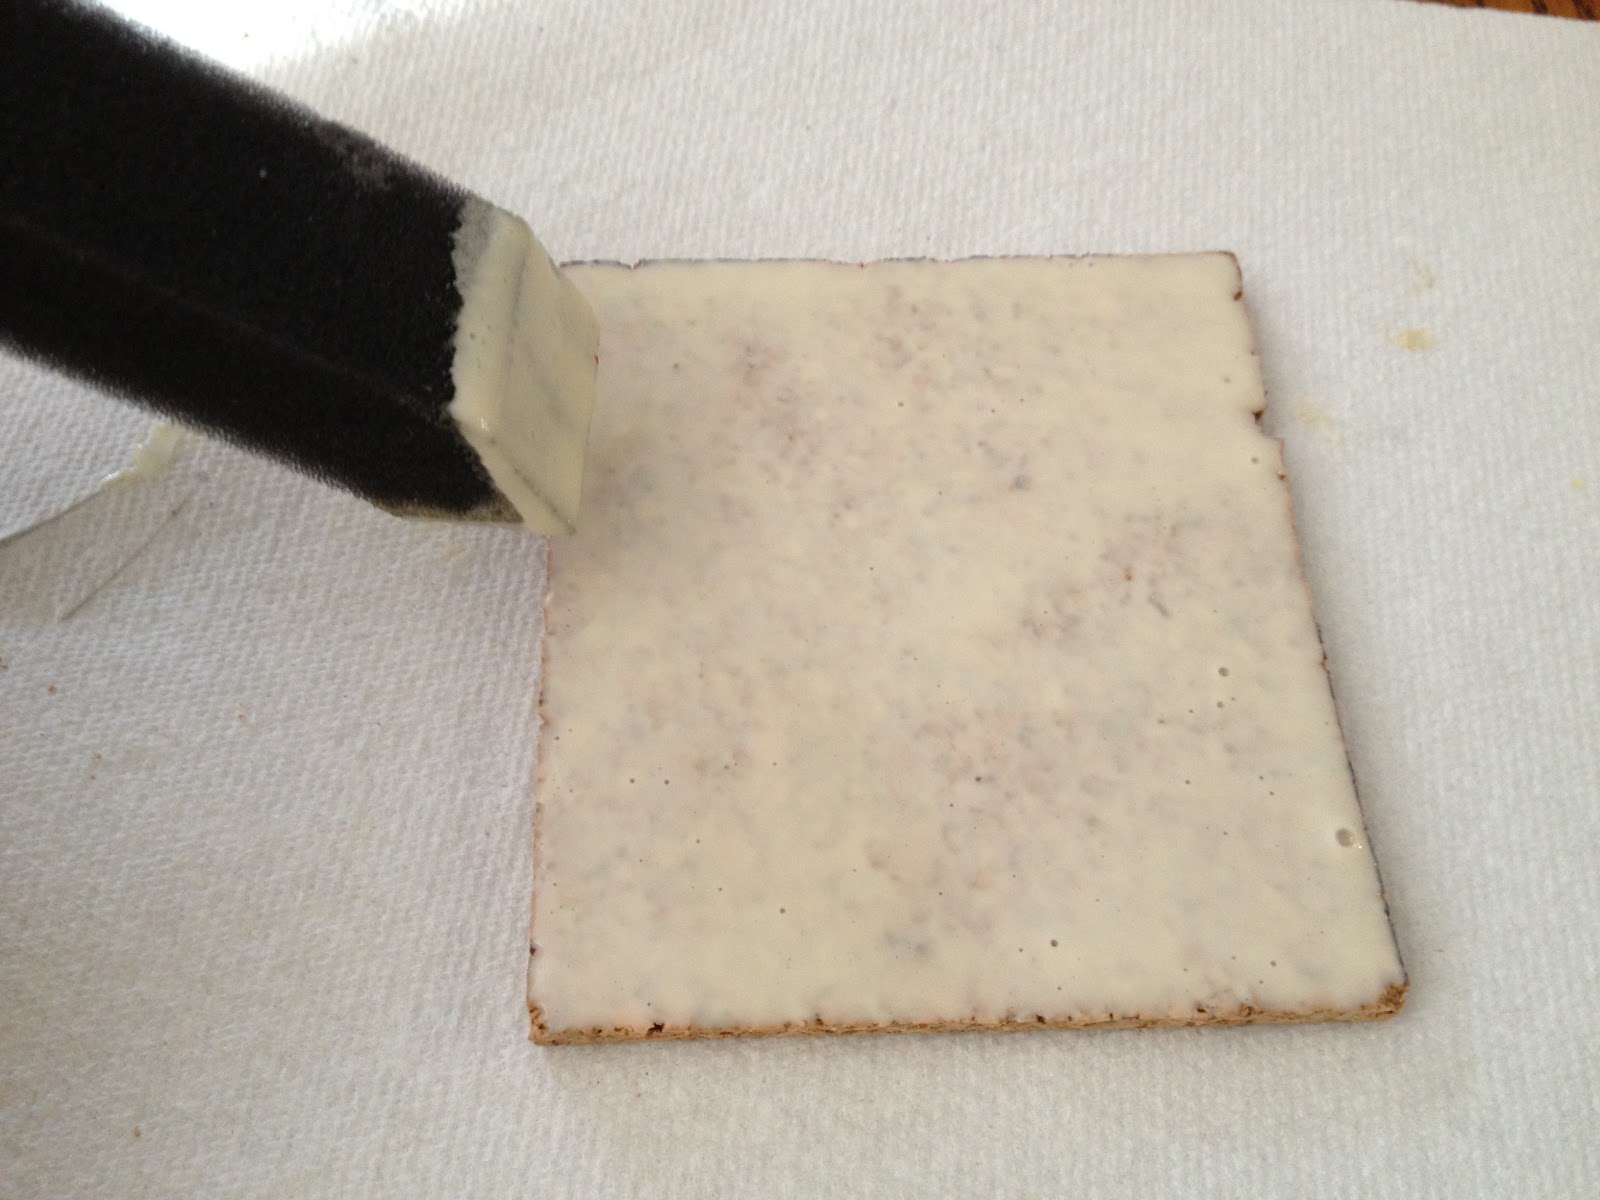
I messed up on this one though. This is way too much glue. You want to apply a thin layer...

Like this!

Any Rilo Kiley fans out there?
I would recommend cutting and trimming the coasters on a piece of scrap wood to protect your surfaces. We picked ours up at Michael's on the cheap.
After all of our coasters were made and dry - you know, a month later - we laid them down to coat with the sealant. We followed the directions on the can of sealant and used three coats.

Laid out on random bubble wrap we had lying around.

Two coasters per guest, folks.
We let the coasters dry for a day and then tied them in bundles using leftover baker's twine from the invitations. Recycle, reduce, reuse! And...that's pretty much it! Honestly, if I had known how time consuming it was at the beginning, I may not have gone through with it. But, I'm happy with the way the coasters turned out so it was worth it in the end. And I was even happier when I was done!
No comments:
Post a Comment